Wort Chiller Construction
Time to chill out!
- I am going BIAB (Brew in a Bag)
This will take some more equipment. More on that here.
But first, I wanted to get an immersion chiller for a larger batch of wort. I looked at several designs: Ribcage, multiple coils etc. But for simplicity sake, I decided to go with a standard coil. I looked for copper tube. It has gotten expensive!
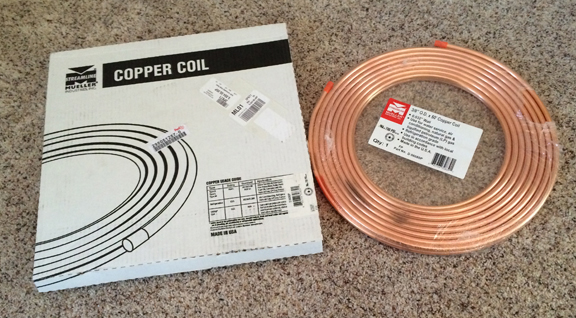
I did find a place online which had a reasonable price, good reputation, free shipping, and a coupon code which covered the CA state sales tax. I ordered it on Tuesday afternoon and it arrived in less than 12 hours before noon on Wednesday. Just WOW!
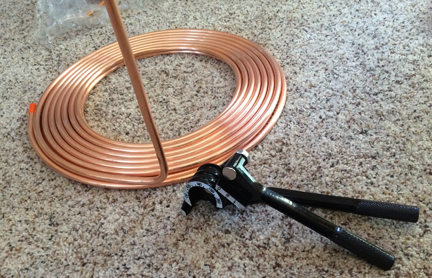
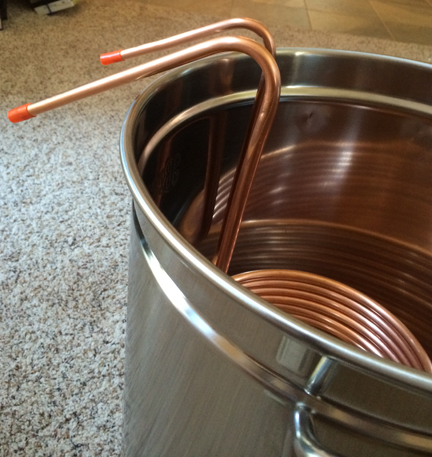
I got a nifty little tubing bender from harbor freight ($5). It is made of aluminum, and is kind of klunky, but it works well and does not kink. So first I bent a 90 degree upright to make one of the coolant ports. I sized this to my pot.
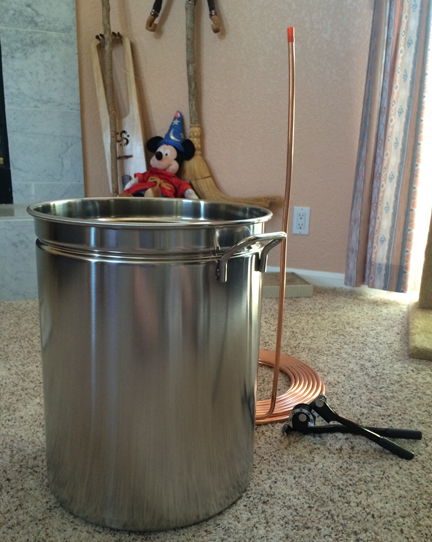
Here is the pot and the upright. In case of boil-over, Mickey is standing by with his magical broom.
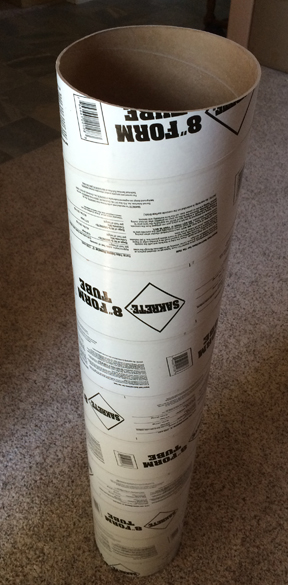
Next, I needed a form for the coil, but I wanted the upright to exit through the middle of the coil, not the outside. And I wanted to keep it straight. So I found this concrete pouring form, a large diameter cardboard tube at the orange home supply store. ($6.50). Really, after using it it will not be “used”. It could be returned to its library after an overnight checkout for collection of deposit fee.
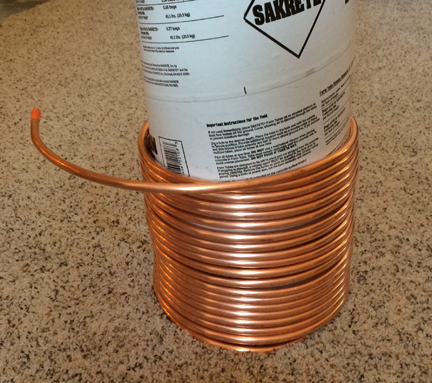
I fed the upright up the center of the rigid tube, and coiled the remainder of the 50 feet of 3/8″ tubing around the form.
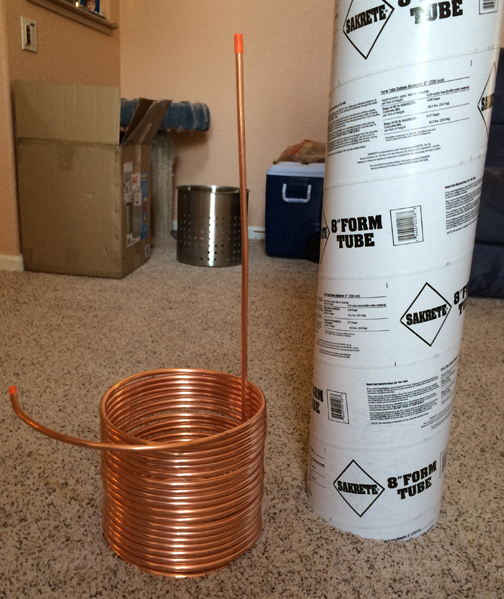
Removing the form shows the coils. I neatened them up a bit and then bent the second upright. I tried to keep them slightly separated so there would be no thermal transfer from the outgoing hot coolant water to the incoming coolant.
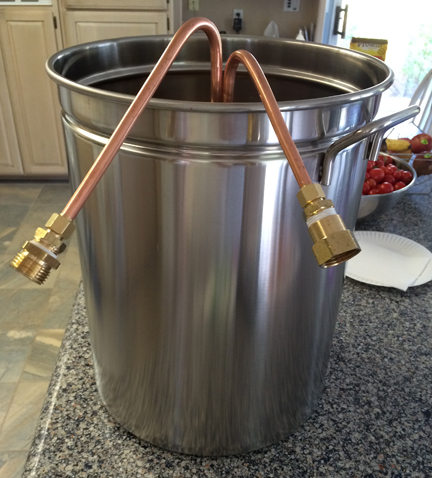
I bent the tops to fit over the rim of the Stainless brewpot. The bend is more than 90 degrees, creating a downward slope for the in and out fittings. This is to avoid any possible leakage or condensation from entering the brewpot.
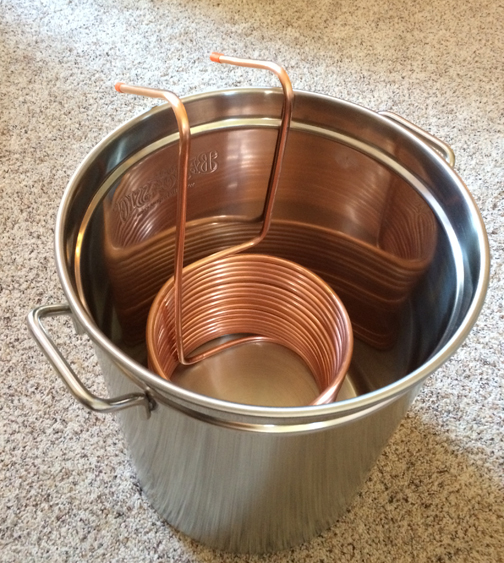
If I had it to do over, I would have placed the uprights close together. A clamp could be put around both tubes with a small insulator between to make the structure more rigid. It would also allow stretching of the coils to any suitable height and then to be clamped in place.
I picked up a few lead free compression fittings. These are the numbers you will need for 3/8 copper refrigeration tubing. You can see the Watts product numbers in the photo.
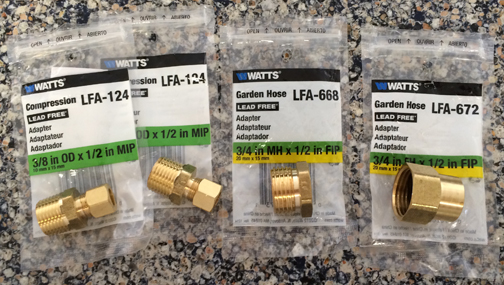
They fit easily on the copper tubing. I used teflon tape to mate the compression fittings to the hose bib fittings. Pressure tested, leak free.
Now on to the brewing bag!
JerryCraft