Memorial Day
It is memorial day.
I am starting a project for an acquaintance of mine for whom this is a special day, with mixed emotions of pride and sorrow.
I am dedicating this post and project to Army 1st Lt. David T. Wright II, and his parents Tim and Michele.
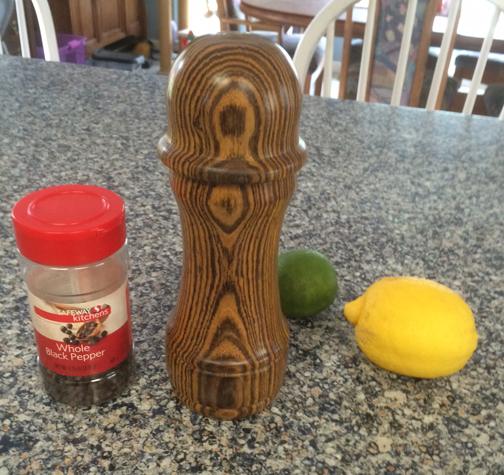
The project is a custom turned Pepper Mill. I have a design in my head, but it will likely change as the wood speaks to me. I am putting up a preliminary post and will update it as the project progresses. The temperature here is over 100 degrees today in the shop, so work has been intermittent!

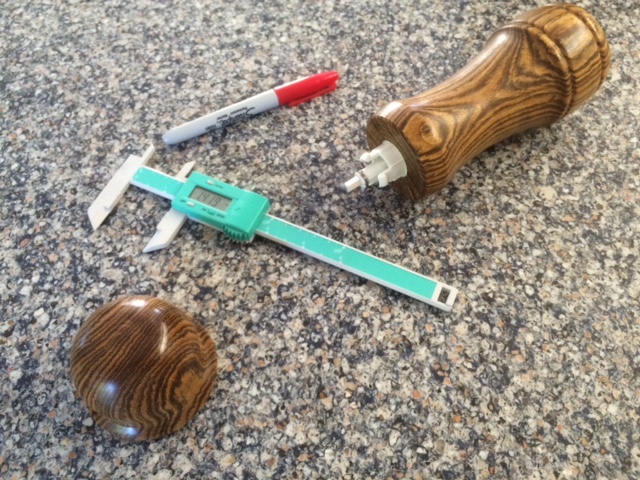
These are the first set of tools I will be using. The Sorby tool is a Roughing Gouge. It is used to make square stock round. It takes a lot of wood off fast, and it therefore rather beefy.The next tool down (middle) is a parting tool. And the bottom tool is an angled skew chisel.
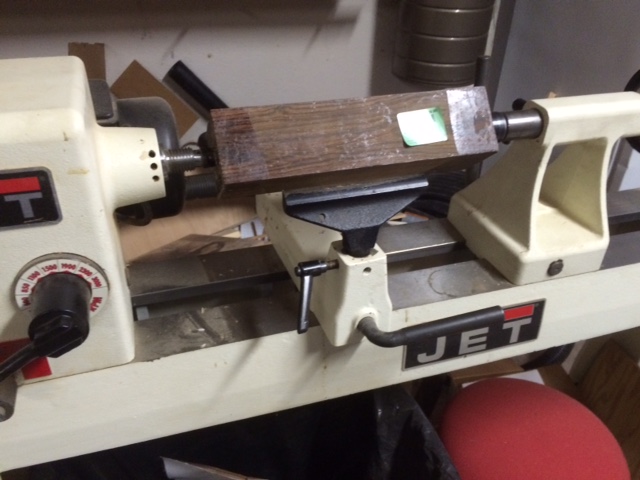
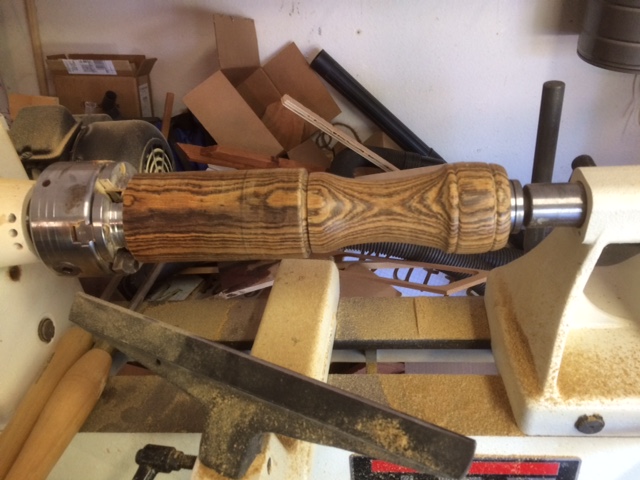
I mounted the 12 x 3 x 3 inch work-piece between centers. There is a spur drive center in the headstock (left) and a live center in the tailstock (right). The wood is Bocote. It is found in South America and Mexico. It is used in fine furniture, cabinetry, flooring, veneer, boatbuilding, musical instruments, gunstocks, turned objects, and other small specialty wood items. The wood tends to be at the mid to higher price range for exotic hard woods. The wood has been dipped in wax to slow the drying of the wood, and stored for several years until the moisture content is low, and even throughout the piece. This will minimize deformation and cracking due to further drying of the wood after the piece is turned and the project completed.
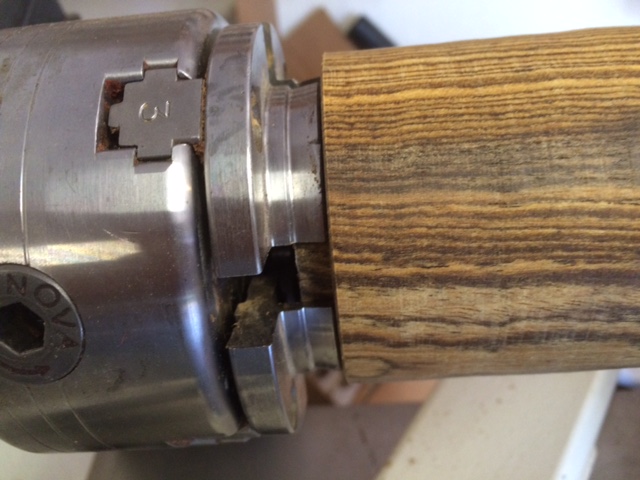
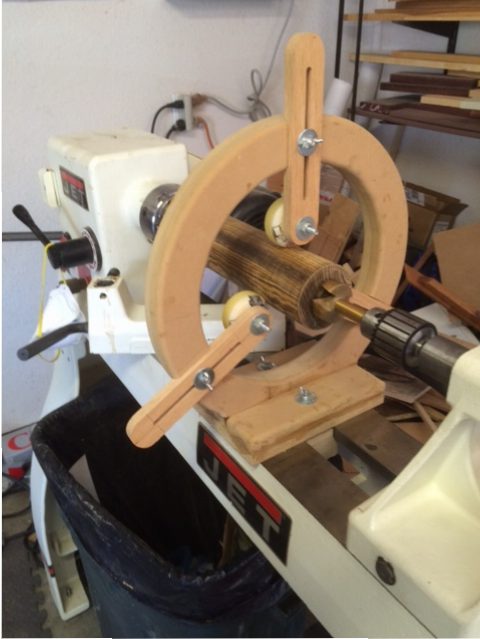
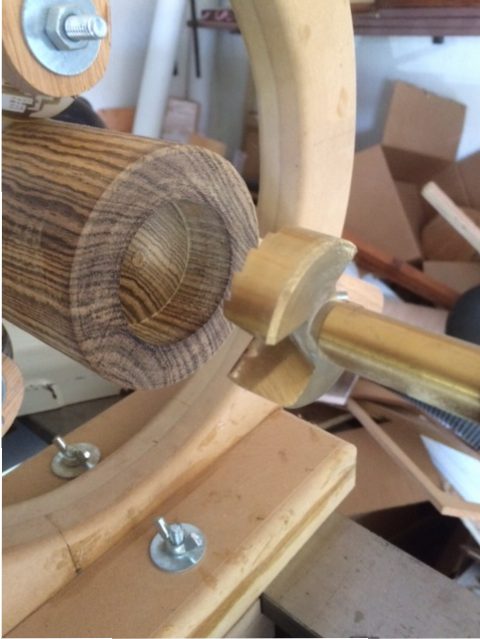
After turning the piece round with the roughing gouge, I created a dove tail spigot or tenon on the tail stock end. The 3/8 inch tenon is narrower at the right, so the angled jaws draw the wood into the four jaw chuck and keep the piece from flying about the shop. Next I will want to bore some holes through the center of the wood. I have a Steady rest that I built some time ago to support the turning piece while boring the center out. It will help keep the free end of the work-piece stable and prevent wandering of the large Forstner bits. See picture below.
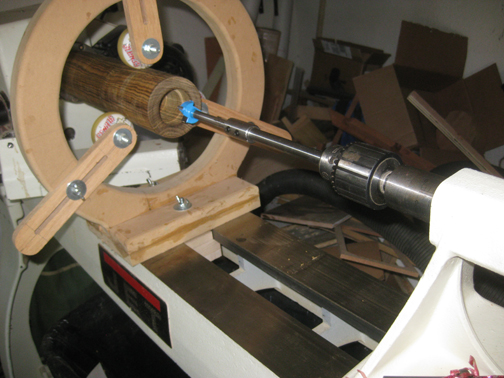
The Forstner bits are held steady in the tailstock quill. The wood turns around the drill bit, but the drill bid does not move. Turning the hand wheel advances the quill, plunging the stationary bit into the turning wood.
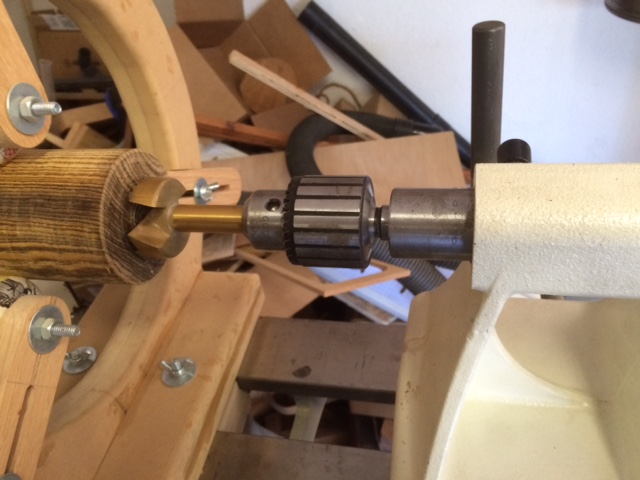
The quill has measurements etched into it so the depth can be precisely measured. You can see the grey lettering on the portion of the quill extending from the tailstock. I bored a 1.75 inch recess 3/4 inches into the wood and removed the bit. When working with wood and wood dust, I recommend proper safety equipment. The wood dust can be very allergenic, and some types are carcinogenic. The wood particles can fly off at great speeds and cause eye damage. Use proper dust collection, eye protection, and dust inhalation protection for the material you are working with. If you are not sure how to operate a lathe safely, seek instruction.
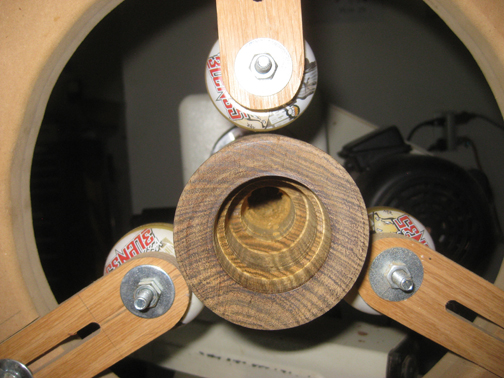
Then a 1.5 inch diameter recess is bored to accommodate the crush-grind mechanism.
Finally a 26mm Forstner bit on an extension is used to bore the remainder of the mill base for peppercorn storage.
Next, the piece will be placed between centers and the shape of the base will be created. Once again, very hot in the shop. SO I worked a little in the morning and some in the evening. Hopefully cooler the next few days.
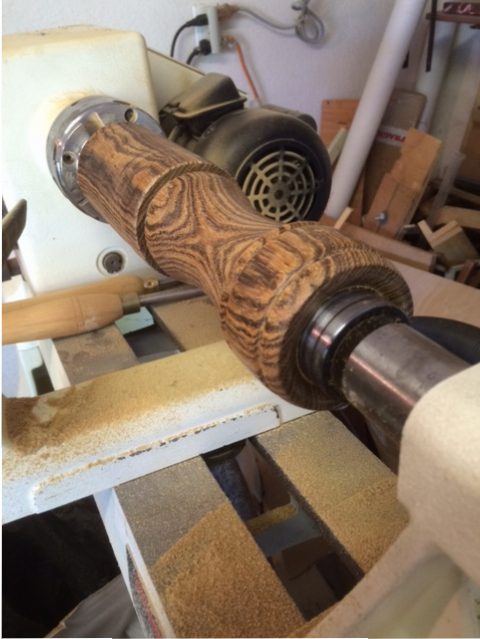
Now I will begin to shape the base of the pepper mill. Keeping the work piece mounted between centers insures a steady cut. It also preserves the true center established at the beginning of the project. Whenever I can get a center on both ends, it is a good day. I will keep the stock in one piece as long as possible. I do sanding and apply initial finishing where possible.
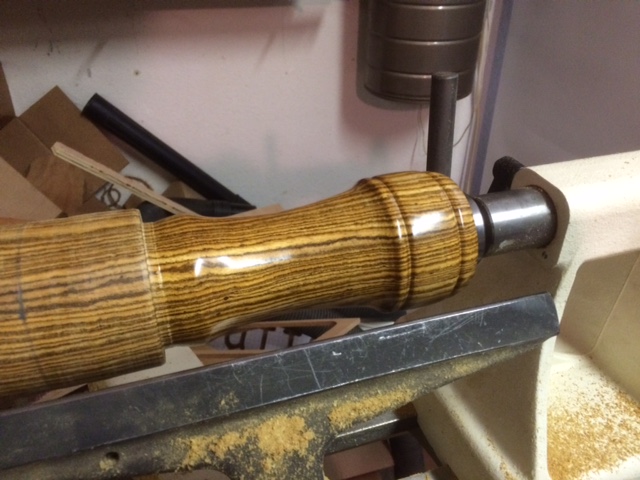
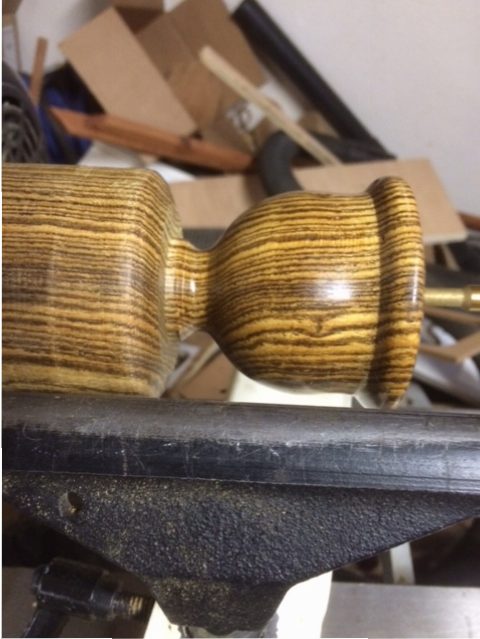
That way I can apply some sealant while spinning. I use a heat activated friction polish. You can see the polished base below. If there are any defects in the turning, they will become obvious in the reflection. They can be easily corrected, re-sanded and re-polished. Everything looks pretty good. I can use the parting tool to remove the base from the top knob. The pencil line is where I plan the top to end.
I begin to shape the top. I creat a small recess for the base to fit in. The top will lap over the base a bit hiding the gap between the two pieces.
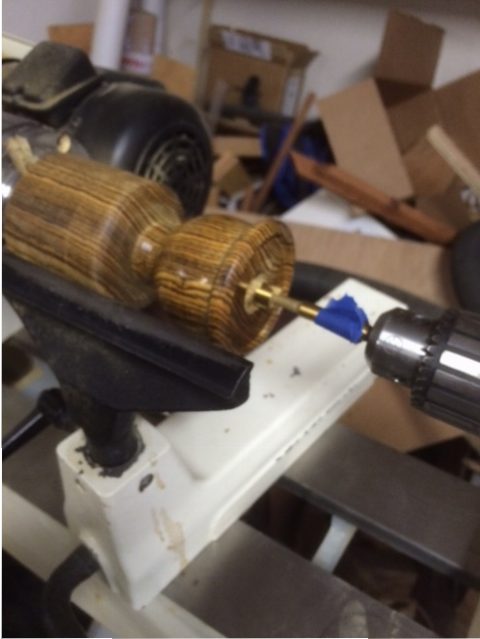
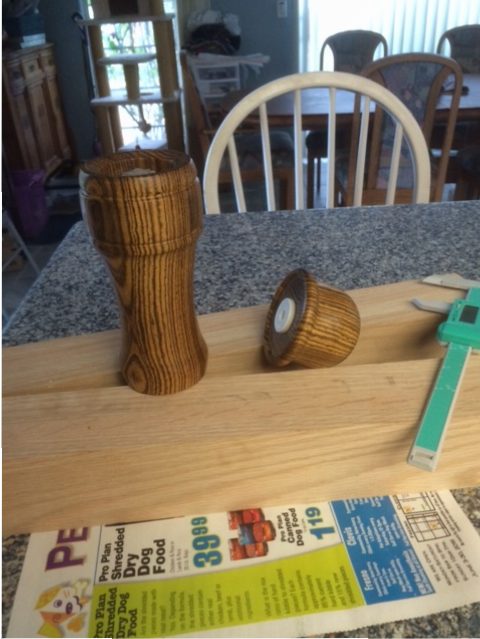
I can put a cone live center in the hole, and then tighten up the 4 jaw chuck in the head stock to keep the top piece centered. Then remove live center while I bore the holes to accommodate the top part of the mechanism.
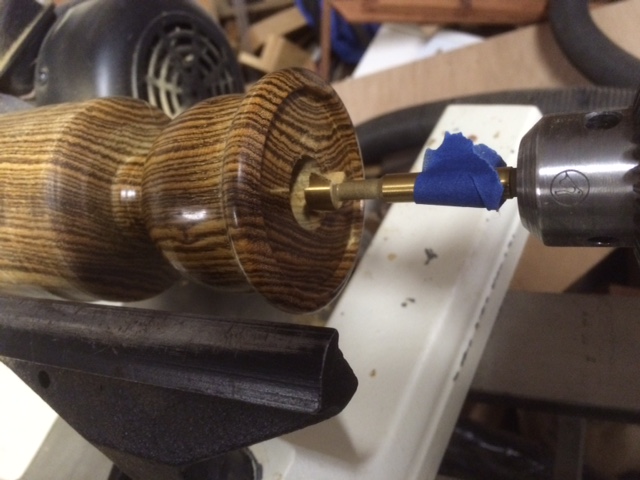
After boring holes and turning the basic shape, I move up the live center , sand and apply polish. Then I part off the top. I reverse the top and finish turning the detail, sand and finish. With the two parts completed, I test fit the mechanism Now I make any final adjustments.
I will let the finish harden overnight tonight, and resume in the morning. It is 103 degrees again, and I need some iced tea!
Oh look! Dry dog food is on sale!
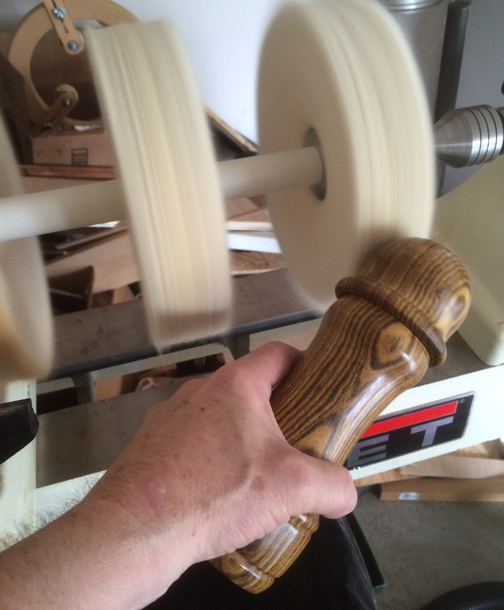
After the friction polish is set overnight, I put some Carnauba Wax on the buffing wheel. I buffed both of the pieces separately then a quick once over assembled. Carnauba wax is a very tough, high luster finish. It is hypoallergenic. It is used in some food products. This mill uses a ceramic “crush grind” mechanism. It resists corrosion from salts and will not rust. It grinds well in either direction (clockwise or counterclockwise). The nob can be turned in a circle, or bank and forth to dispense pepper. There is a small grey knob on the bottom of the mill to adjust the coarseness of the grind. No “top nut” is needed. The mechanism is said to last 25 to 35 years.
This has been a fun project. I will package it up and get it in the mail on Monday.
Have a great weekend, ask any questions below, I will try to get back to you quickly.
Jerry
JerryCraft

5 thoughts on “Memorial Day”
CatherinePosted on 4:49 am - May 31, 2016
It’s going to be a great piece. I love the grain in the wood!
JerryCraftPosted on 4:52 am - May 31, 2016
Thanks. It will be about a 4 to 5 day project.
Jerry
MichelePosted on 12:19 pm - May 31, 2016
WOW!!!! I’m truelly speechless. Thanks so much for honoring our son.
Kit BielawskiPosted on 2:18 pm - May 31, 2016
How very talented u r!
MichelePosted on 11:29 pm - Jun 4, 2016
OMGosh it is absolutely gorgeous!!! I will never be able to thank you enough. We will treasure it, not only for its beauty and the craftsmanship that went into it but also the dedication behind the creation. Hugs from Oklahoma