Home Brew Stir Plate
To make a stir plate for growing larger numbers of yeast organisms.
Yeast cultures are expensive. Often the culture does not contain adequate numbers of active cells for inoculating (pitching) a certain batch of home brew.
the good news is that yeast multiplies like crazy! Given the proper conditions, yeast is like a copy machine on steroids.
Yeast Stir Plate Project
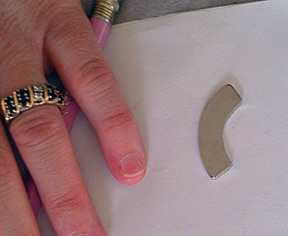
This is how I made a simple stir plate out of spare parts and a couple inexpensive purchases. Stir plates use a magnet in the plate to spin another teflon coated stir bar in the yeast culture. I got my magnet from an old hard drive. It was fairly easy to take apart and harvest the two magnets. (Too bad I threw away about 10 loder hard drives last month. the real old ones had better magnets!)
I used one of the many old 12 volt computer case fans I had lying around. You can use case fans, opwer supply fans, or just buy one for about $4 online. I also build a small pine project box. I just glued it together with Tight Bond II. This wood glue is waterproof. People have used old cigar boxes, plastic project boxes, etc for housings.
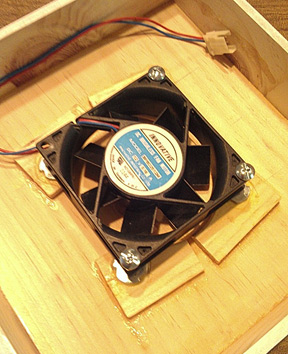
I used some CA glue to add small motor mounts to the inside of the box. These had threaded wood nuts CA glued to the underside. A few spare machine screws and it was mounted.
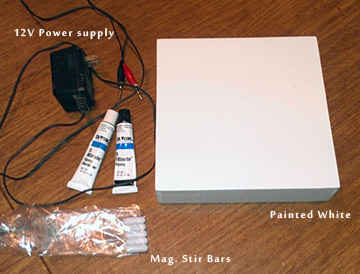
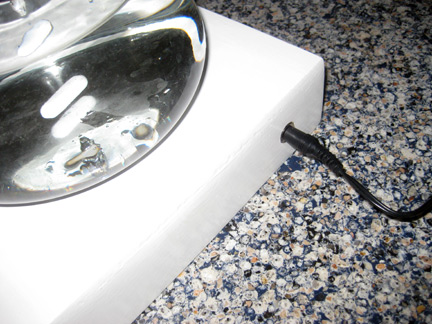
I painted the wooden box with Rustoleum white paint. A couple of coats did the trick! I have many ole power supplies from now dead computer items, like zip drives, routers. old laptops, etc. I selected a 12v 1 amp supply. I ordered five stir bars on eBay for about $5. I used 5 minute epoxy to glue the HDD magnet to the top of the fan.
I drilled a few holes in the wooden box to mount the power indicator LED, the speed adjustment knob, and the power connector. Since my power supply had an M type power jack, I mounted n M type panel connector. This and the LED were from Radio Shack.
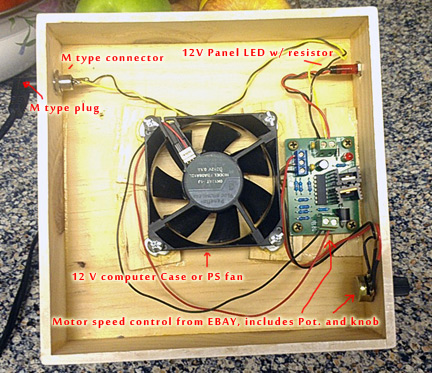
I ordered a small PWM motor speed control on E-Bay. It was $8 shipped. It included the knob, pot, and IC board with another LED. Wire the 12 volt leads from the power jack to the board. Make sure to place + to +! It is marked on the board. The panel LED was wired in with the 12V supply lines.
Then the fan is wired to the output. these are simple screw on connections.
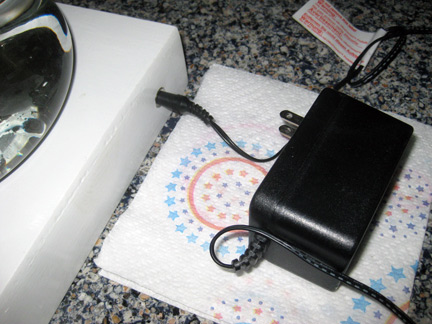
The power can then be connected easily.
I got two 2L Erlenmeyer flasks at the Bargain Barn at UC Davis. They also had 12 volt power supplies for $1 if you need one.
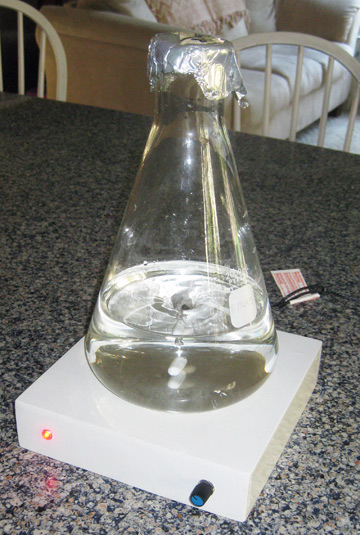
I plugged it in… It works! Speed control is good.
Check eBay for “12-24V 3A DC brushed Motors Speed Control PWM Controller”
JerryCraft