Anglo Saxon Lyre
A student I know was very interested in making a Jouhikko. Mind you, I had no idea what a Jouhikko is, or was? So I looked it up on Wikipedia.
It is apparently a musical instrument of antiquity, a sort of stringed lyre. It makes the type of sounds associated with Fjord music. If you like, you can hear what it sounds like now and in past centuries! We studied plans and history. It was VERY cold in the shop, so we got the Scandinavian spirit! She only had a couple weeks to make the item, so I did a trial run with a similar instrument. The Anglo Saxon Lyre is a strummed or plucked lyre, not a bowed instrument.

Construction of Anglo Saxon Lyre similar to Sutton Hoo find.
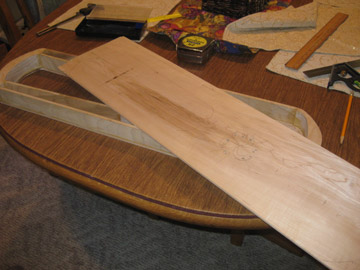
Traditionally one uses a large thick plank of wood and the sound chamber is hollowed our with chisels and gouges. The price of hardwoods is pretty high, so I opted to do the construction more like that of a modern guitar. That is construct the sound box as a glue up.
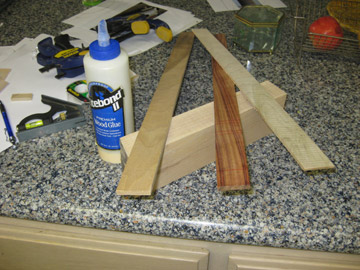
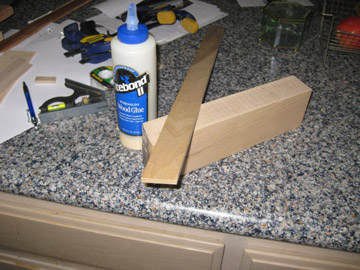
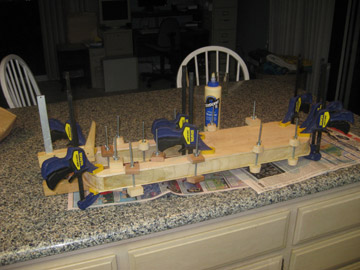
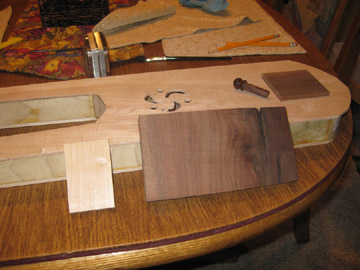
I used poplar for the sides, and maple for the structural cross pieces. Waxed paper keeps the glue from sticking to the workspace.
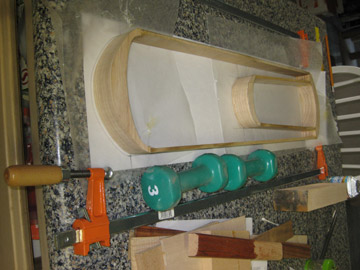
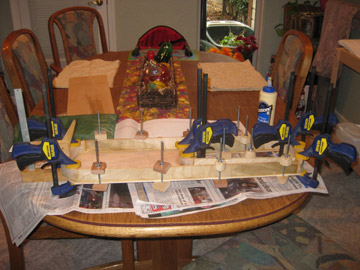
I clamped the back of the sound box on using improvised violin clamps. These were made with 1/4 inch carriage bolts,scrap wood pieces with 1/4″ holes drilled in them, and a wing nut for tightening the clamp.
Tight Bond II is an exceedingly versatile and strong holding glue. Foaming type glues (with the name like some primates) should be avoided. The maple back and soundboard (front) were cut from one 3/4 plank of maple, I used a band saw to Split the plank to the desired thinness. This is called “resawing”. I then finished the process with my friend’s planer.

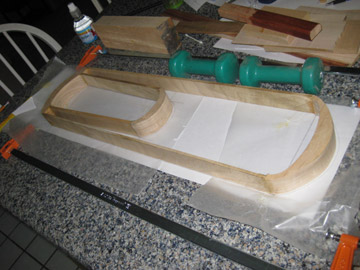
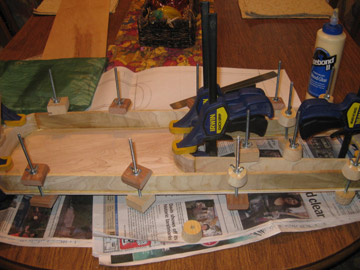
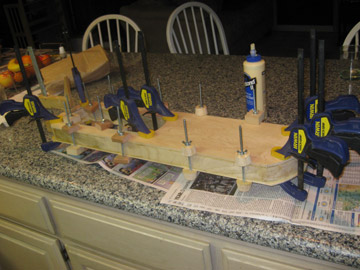
After the glue set up, I removed the clamps and cleaned up any excess glue. The backs and fronts are cut oversized, so they lap over the frame about 1/4 inch. A flush cut router with guide bearing can be used to trim off the excess later.
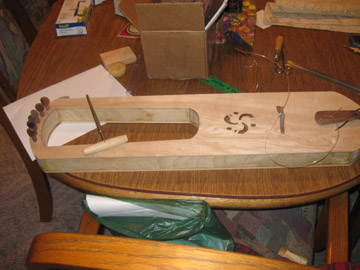
I sketched out the openings in the sound board (front). I made a design for the sound hole, and cut the hand opening for the top of the lyre.
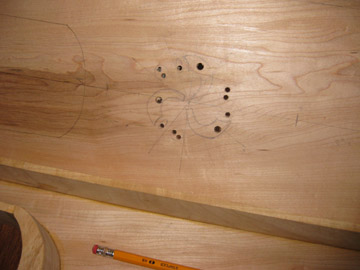
I drilled some pilot holes in the sound hole design and used a scroll saw to cut out the design.

I need to cut the large space at the top is where the players hand goes.
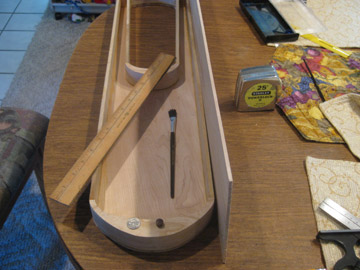
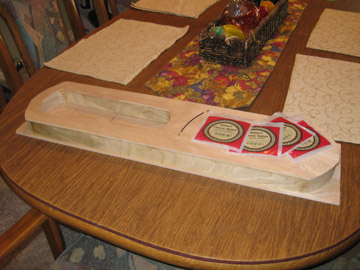
I test fitted the soundboard. Perfect fit!

I glued the soundboard on with Tightbond II glue. It is water-proof (but not submersible).
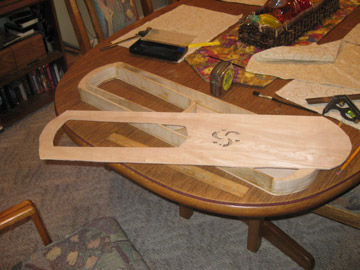
After unclamping, the instrument is beginning to look good. I will flush trim the front and back pieces. Noe, what about those strings?
I have a big hunk of walnut in the shop from a local orchard that was thinning some trees. It is about 30 years old, should be dry enough to make pegs and a floating bridge.
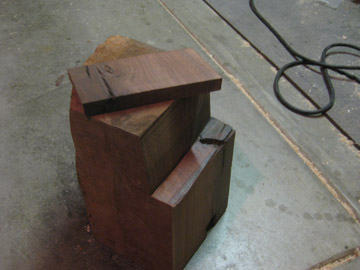
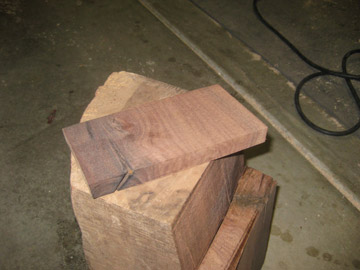
I cut some long pieces from the Walnut and shaped the finger pads, I turned the pegs on a lathe to get them round and slightly larger than the peg holes.
Then I shaved them with a violin peg shaper. Don’t you have one? I didn’t either, I borrowed one.

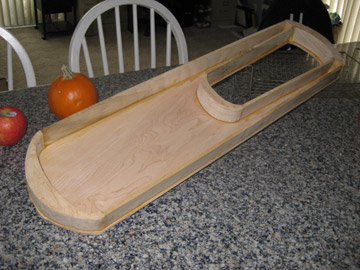
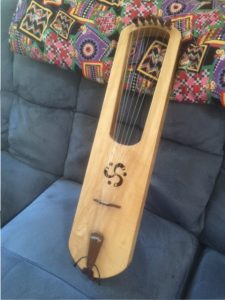
I installed the tuning pegs, bridge, and tail piece. Not shown, I put a peg in the bottom to tie a leather sling for the floating tail piece.
I put the pieces together, and strings on. It even sounds good! Now I will disassemble the parts and apply a finish to the body.
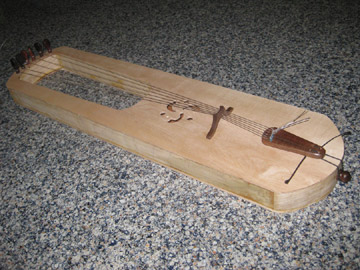
I like how this turned out. Later in the week we made the Juhikko. I do not have picturs for that. But it turned out well also.
JerryCraft